When I asked my kid what he wanted to be for Halloween this year, he spontaneously yelled out “Venus flytrap!” I was surprised, especially since he had become reluctant to wear homemade costumes since starting elementary school. Neither of us could pinpoint where that idea came from. We hadn’t seen or done anything with Venus flytraps recently. Maybe it was divine inspiration. In any case, we ran with the idea. What a great decision that was!
Skip to DIY Venus flytrap instructions
Some background to these fascinating plants:
As with the house fly costume, we wanted to start with studying real Venus flytraps (Dionaea muscipula). These carnivorous plants evolved from simpler ones about 65 million years ago, and unlike the simpler and more widespread pitcher plants, only two varieties have hinged snap traps to catch insets: the European waterwheel and the Venus fly trap. Historically they were known in the Carolina Algonquian Renape language as titipiwitshik (“leaves which wind around”). The Venus flytrap is native to the wet pine savannas (swamps) of the Carolinas. Once widespread, the Venus flytrap is now under review as an Endangered Species, because it’s now found wild only in 90 miles of its native range, with a 93% reduction in population from 1979 to 2019.
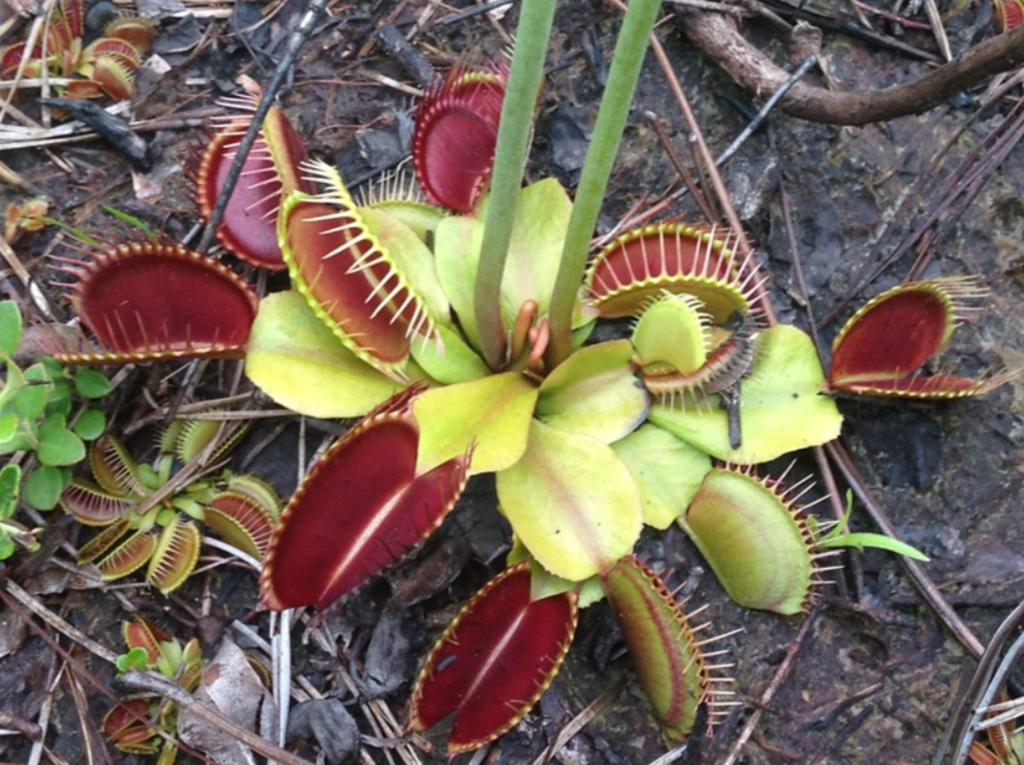
Real Venus flytraps are tiny, just a few inches tall, with delicate little leaves that form traps the size of a bean. We saw Venus flytraps at the UC Berkeley Botanical Garden last year and were struck by how small and cute they were. They live in sandy, nutrient poor soil, so their superpower (and evolutionary survival trait) is trapping insects for food. Despite its name, the Venus flytrap diet is mostly ants, spiders and beetles; flying insects are less than 5% of its diet. Insects and spiders are attracted by their sweet nectar, and when they touch the trigger hairs on the leaf’s surface, at least twice in quick succession, the plant releases pressure in certain cells and causes the lead to flip inward within a tenth of a second (faster than the blink of an eye!), trapping the prey within. The flytrap then secretes digestive enzymes to liquiefy the prey and absorbs its nutrients. Each flytrap leaf can repeat this 2-3 times before drying up and dropping off.
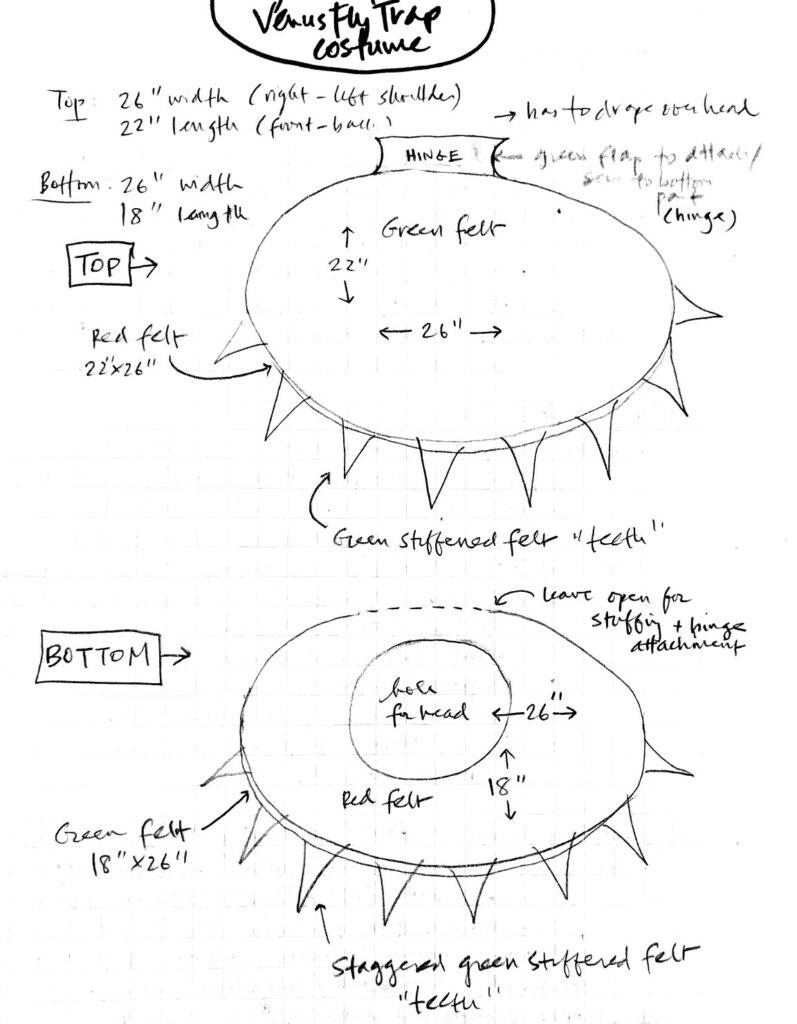
After looking up photos and descriptions of real Venus fly traps and searching for photos of other people’s DIY Venus flytrap costumes, we sketched out our costume-making ideas. Here’s mine:
Here’s my kid’s:
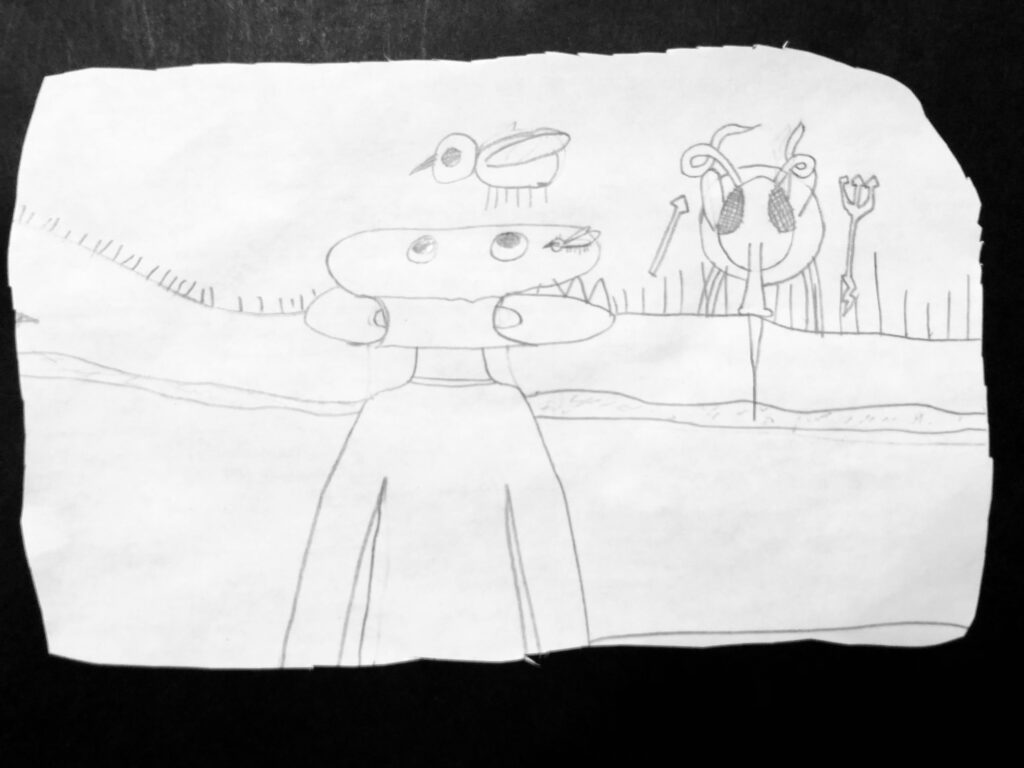
You can see who is the more creative one in the family! 😉
Here’s how we made the Venus flytrap:
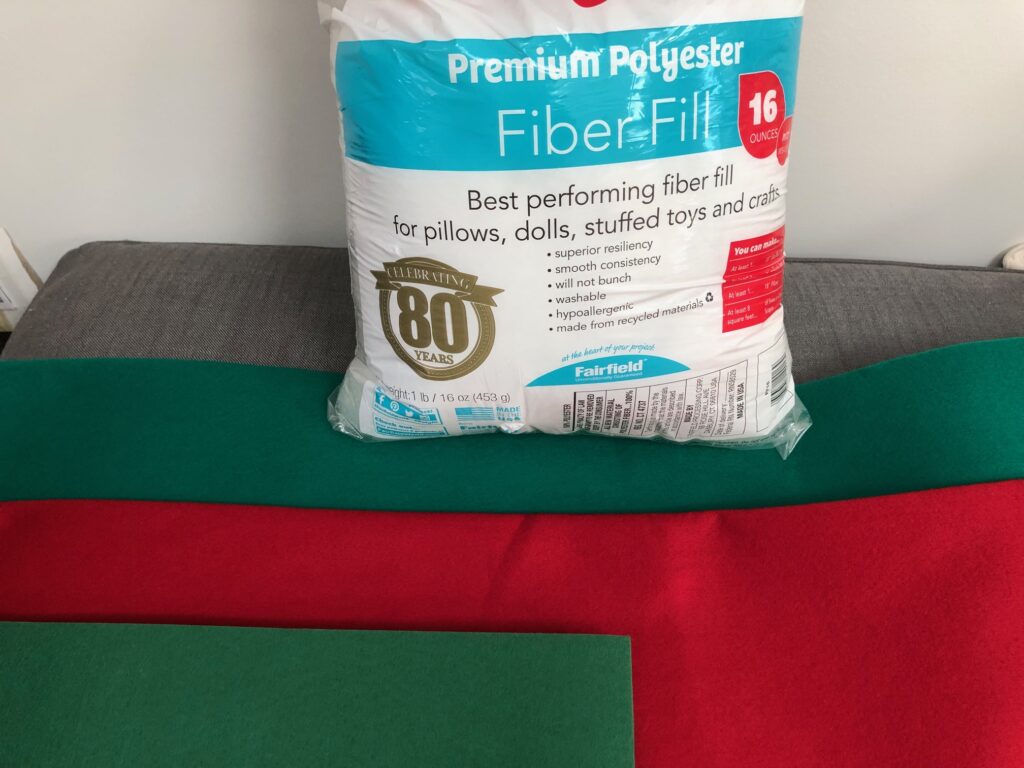
Materials:
- Green felt, 1 yard
- Red felt, 1 yard
- Pencil
- Fabric pins
- Stiffened green or white felt, 12×18” sheet
- Stuffing (we used recycled polyester fill)
- Thread
- Sewing machine with universal needle (easiest/fastest) or needle for hand sewing
- Optional: black paper for origami flies
- Optional: large googly eyes, or make them with white and black felt or paper.
Step-by-step instructions:
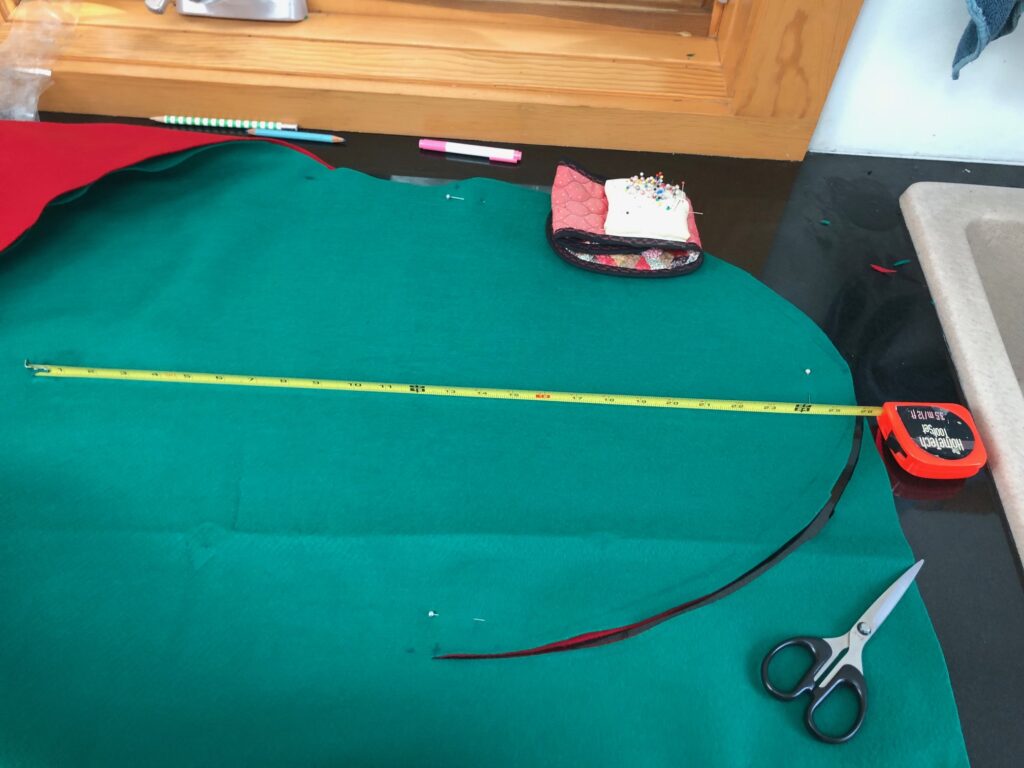
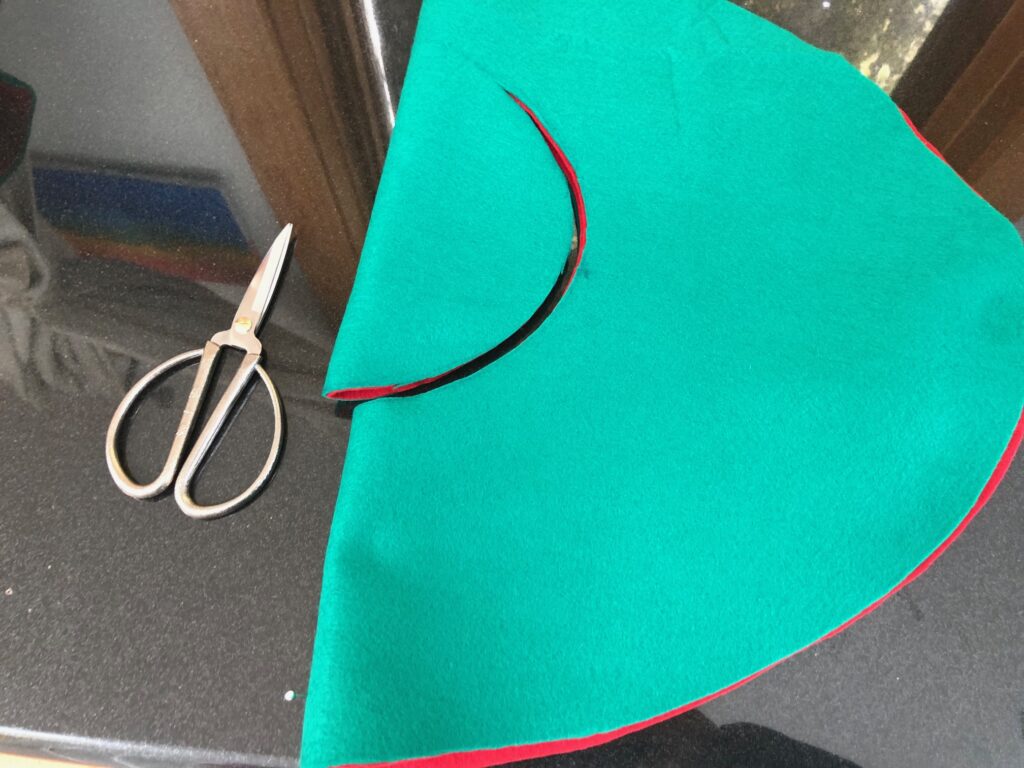
- Stack the green and red felt on top of each other, smooth out and pin.
- Draw the outline of the top leaf on one side and cut out both red and green pieces.
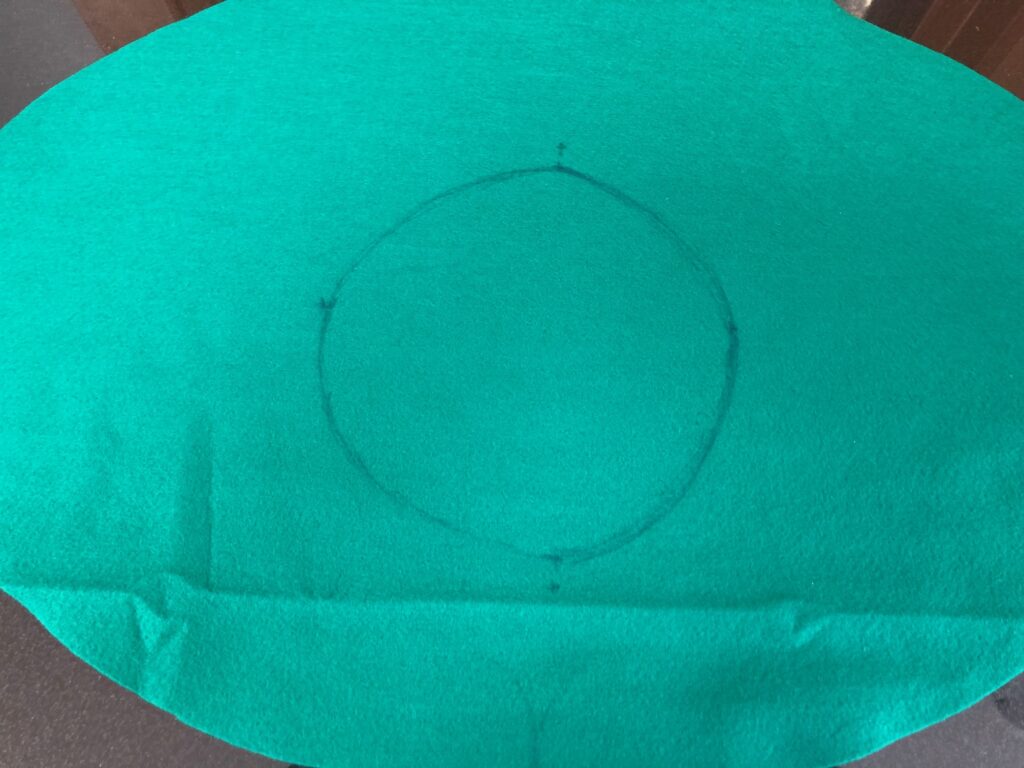
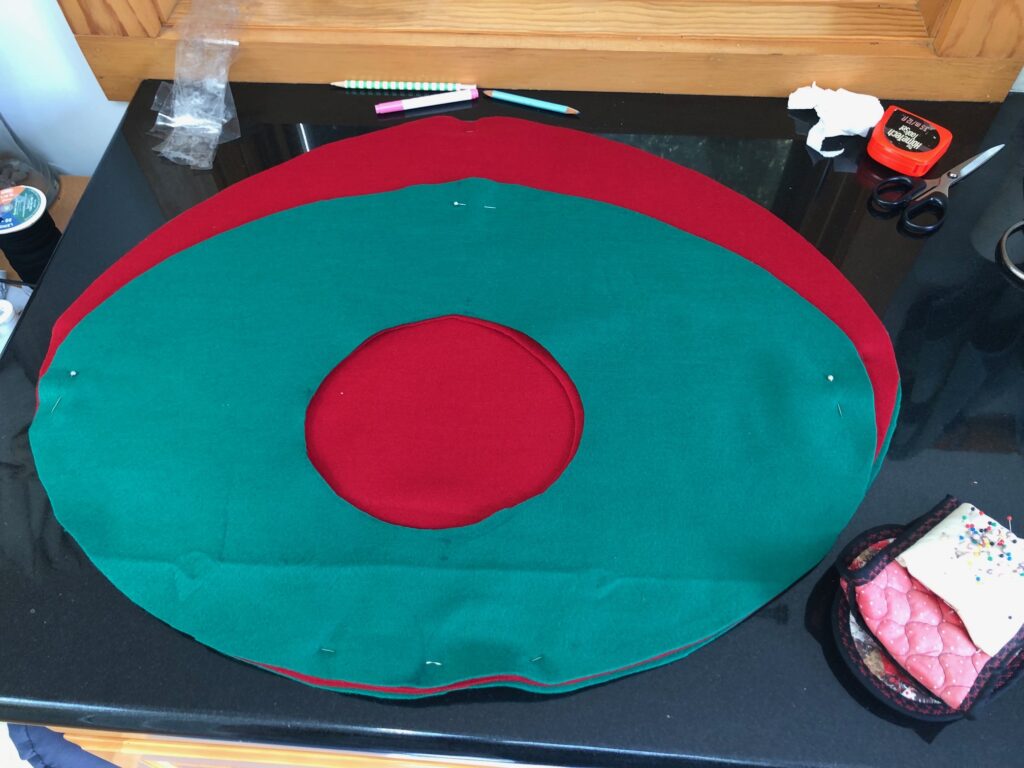
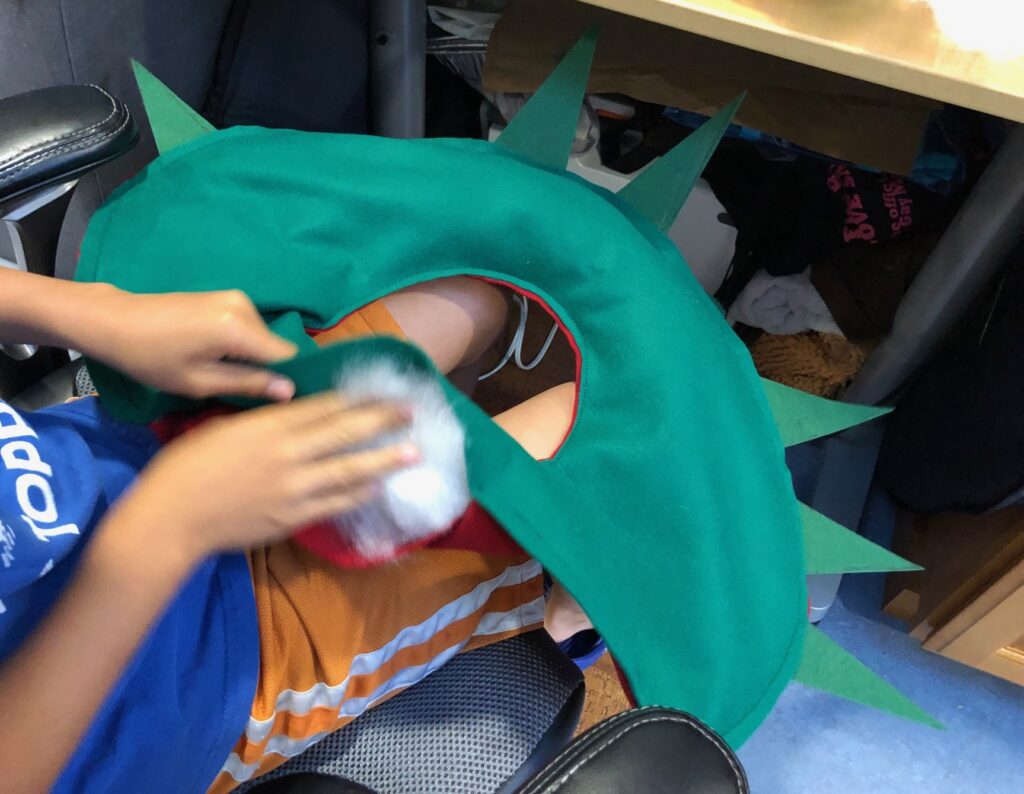
3. Repeat steps 1 and 2 for the bottom leaf. If you’re making a costume (not just a stuffy) and want to wear it on your head, make the bottom leaf smaller and cut a hole in the center for the head. After I cut the outline of the bottom leaf, I measured and drew the head hole, then folded both felt pieces in half to cut the head hole. If you’re making a stuffy and not a costume, you can skip the head hole.
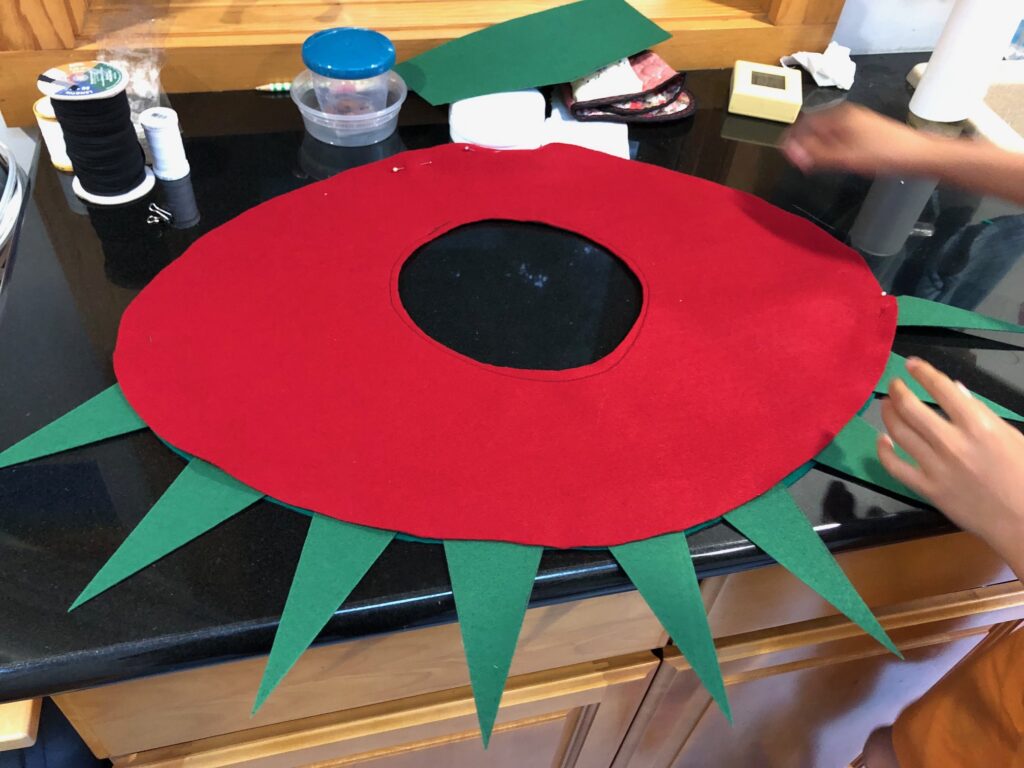
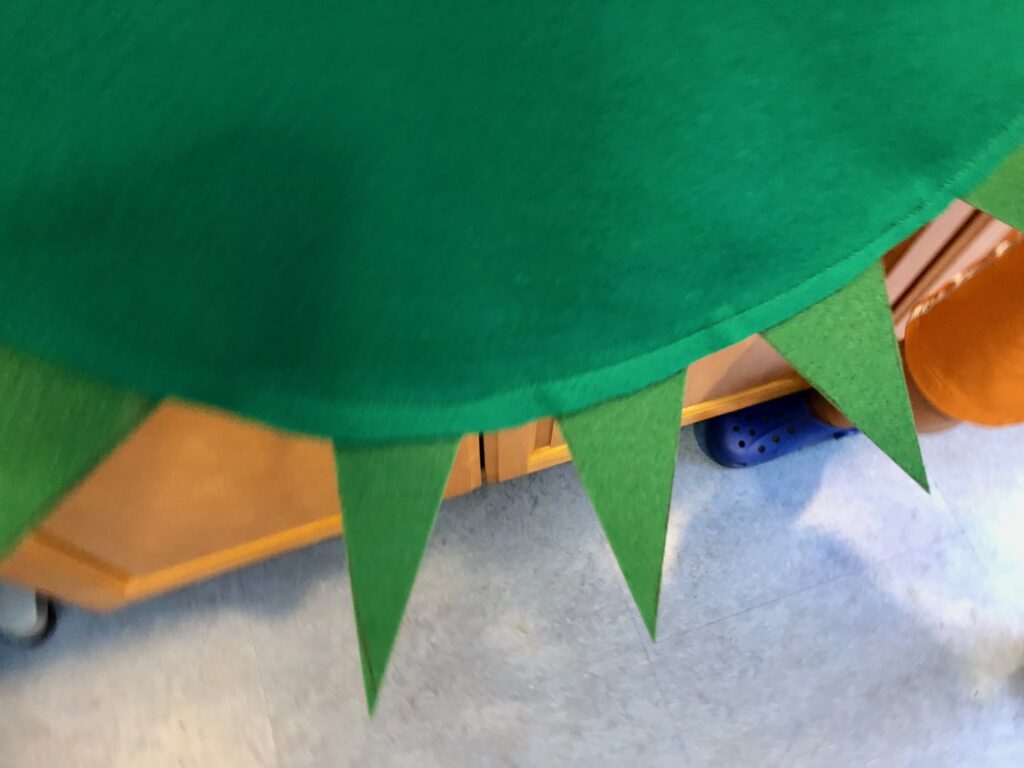
4. Draw and cut out the protruding “hairs” (which look a bit like spikey long teeth) from the stiffened felt.
5. Pin the stiffened felt hairs to the top and bottom leaves.
6. Sew the red and green felt pieces of the top leaf together, leaving and opening of about 6-8 inches for the stuffing and back hinge. I used a small straight stitch for most of it, then realized the stitch was somewhat weak on the felt, so switched to a tight, small zigzag for the back hinge. You can use the tight zigzag throughout for a stronger stitch if you don’t mind the thickness.
7. Repeat step 6 for the bottom leaf, also sewing the head hole shut if you are making a costume.
8. Stuff the top and bottom leaves to the thickness and puffiness you want.
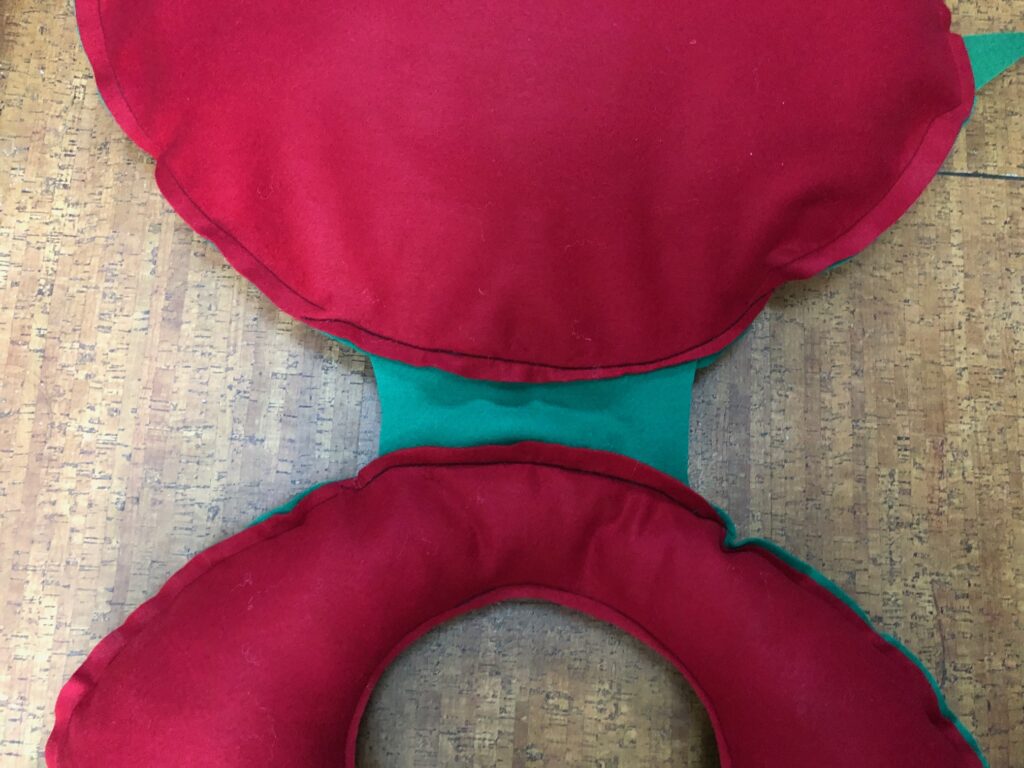
9. Optional back hinge: We decided to add a back hinge. We weren’t planning to, but after we pinned the top and bottom leaves together at the back opening to try it on, we found that the costume opened at an uncomfortable angle. So we decided to add a hinge (see my kid’s sketch of the back of the costume and hinge above) that curved a bit to look more natural at 6-8 inches wide. We then pinned the hinge to each side of the leaf and sewed the hinge and each leaf shut using a tight zigzag stitch.
10. If not adding a hinge, sew the two sides together using a tight zigzag stitch for strength.
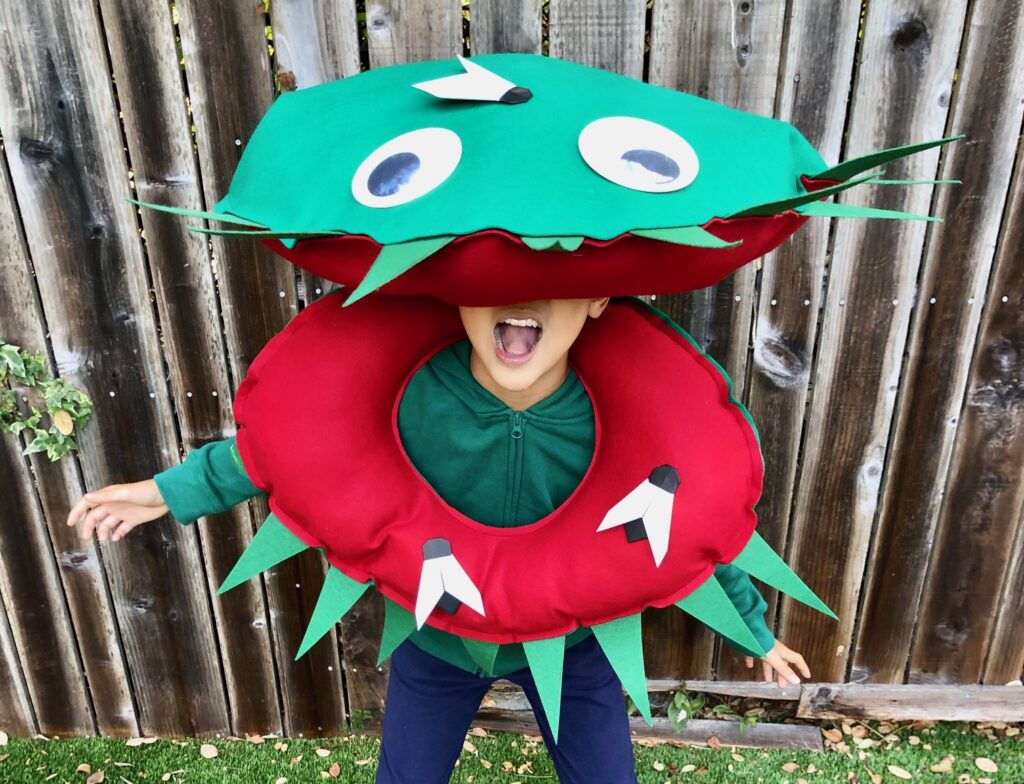
11. Optional origami flies: my kid found this tutorial online and followed it to make origami flies out of black paper. He used tape to attach them to the inside and outside of the leaves.
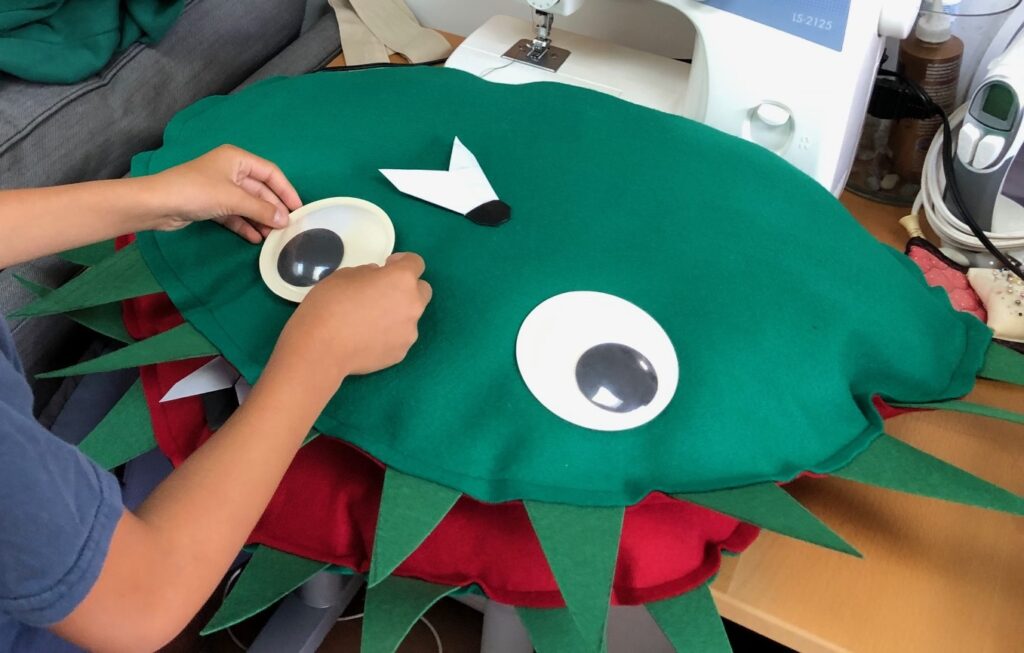
12. Optional googly eyes: We happened to have a couple of large googly eye lying around from past projects, and he taped them to the top leaf. You can also make eyes out of felt or paper and tape or glue them on.
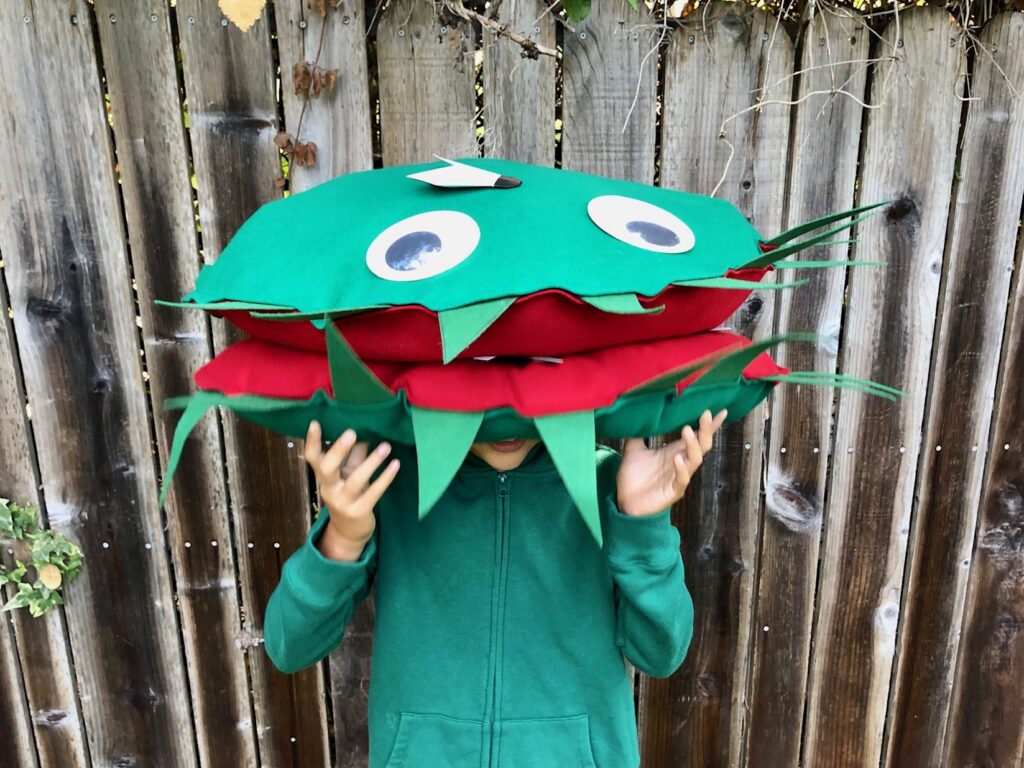
Ta da!! Now you have a giant, cute, squishy Venus flytrap to love and wear!